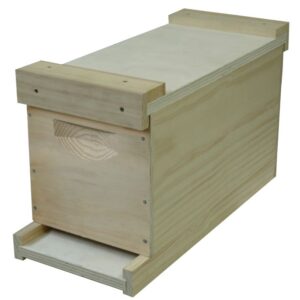
Cloake board was originally designed by Harry Cloake. This board is a cost effective approach to queen rearing, making it a must have for beginners to queen rearing. Instructions included. Can be used to manipulate the colony population and create a starter / finisher from one strong double deep hive for making queen cells.
Compatible with 10 FRAME equipment only.
Cloake Board method of queen rearing
The Cloake method of queen rearing involves a series of stages which divide a colony into a queenright lower colony and a queenless upper colony to improve acceptance of grafted larva, or to facilitate the creation of queen cells naturally.
Stage one
- The Cloake board is placed between two hive bodies when the queen is known to be in the lower hive body.
- Because a Cloake board either contains or is used with a queen excluder, the laying queen will be restricted to the lower hive body from this point forward.
- Frames containing larvae should be moved to the upper box to encourage nurse bees to come up, these will be needed to attend to the future queen cells.
- At this time the lower entrance to the hive is reversed so that it faces the opposite direction and then closed.
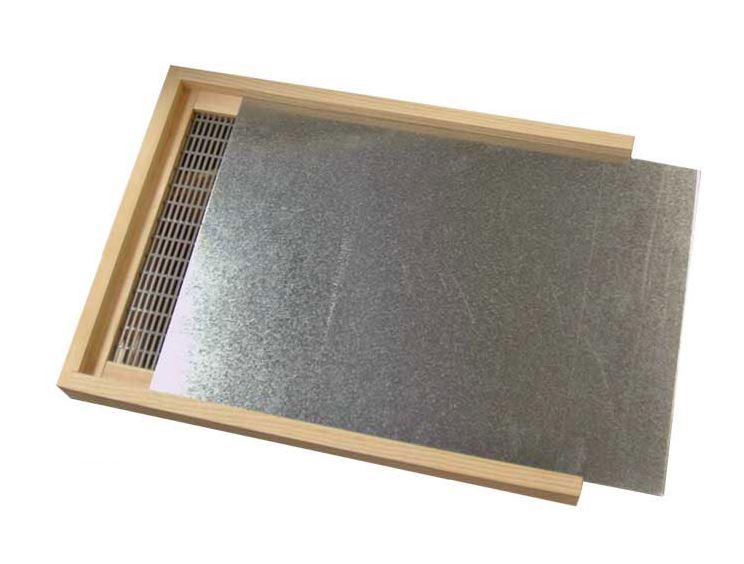
- Without the slide in floor in place, the Cloake Board functions as an upper entrance for workers, who re-orient to enter the hive using the upper entrance.
Stage two
- Slide in the metal divider (insert): By sliding the divider into the Cloake board, the single functioning colony is now divided into two parts – a queenright lower colony and a queenless upper colony.
- The lower entrance is re-opened, allowing bees in the queenright section to exit the hive.
- When those bees return, they will do so to the upper entrance, but not be able to enter the lower colony.
- This results in a higher population of bees in the upper colony.
- The upper colony is typically left alone for 24 hours for a settling period, in which the bees determine that they are queenless, and prepare to replace their missing queen.
Stage three
- Grafted cells Installed: The queenless upper colony is now prepared to raise queens, and by inserting queen rearing bars with grafted larvae, the beekeeper provides candidates for new queens.
- At this time any emergency queen cells will be removed by the beekeeper.
- Stage three continues for one to two days, long enough for the cells to be fully accepted and built up.
Stage four
- Rejoin colonies as a “Finisher”: The slide-in-divider is removed from the Cloake board.
- The queen excluder continues to retain the laying queen in the lower colony while the combined colony incubates the grafted queens.
- The queen cells will be removed before they hatch and transferred to mating nucs.
Following the removal of the ripe queen cells the cloake board can be removed to re-establish the single united colony.